
Are you wondering why paint is bubbling on your bathroom ceiling? The bubbles in bathroom ceilings are the product of humidity from the heated water constantly in use.
As you bathe or take a hot shower, it is obvious that the humidity level will rise. This will surely send hot steam into the air, which may fog up the bathroom mirror and lead to condensation on the walls or ceiling.
Paint bubbles on the walls or ceiling of your bathroom can be unsightly. It’s a cause for concern and instantly makes your home look older than it is.
In this article we will explain simple things you really need to fix the paint bubbles, and then address the problem of how to fix the bubbling paint on the bathroom ceiling.
Things You Will need to fix bubbling paint on the bathroom ceiling
To fix bubbling paint on a bathroom ceiling, you will need the following:
- Safety equipment: Wear goggles, gloves, and a mask to protect yourself from paint fumes and debris.
- Sandpaper: Sandpaper will be needed to smooth out any rough areas on the ceiling.
- Drop cloth: Use a drop cloth to protect the floor from paint splatters and spills.
- Paint: You will need to select a high-quality paint specifically designed for bathroom use that can withstand the high humidity and moisture in the bathroom.
- Paint roller: A paint roller will be needed to apply the paint evenly on the ceiling.
- Scraper: A scraper will be needed to remove any loose or peeling paint.
- Primer: Apply a coat of primer to help the paint adhere to the ceiling.
- Paintbrush: A paintbrush will be needed to touch up any small areas or edges the roller cannot reach.
- Bucket and water: Use a bucket and water to clean the ceiling before starting the painting process.
Ways to fix bubbling paint on bathroom ceiling
1. Find Out The Causes
Before repairing the bubbling paint, you must determine its root cause. Look for leaks, poor ventilation, or other moisture or heat sources that might be causing the issue.
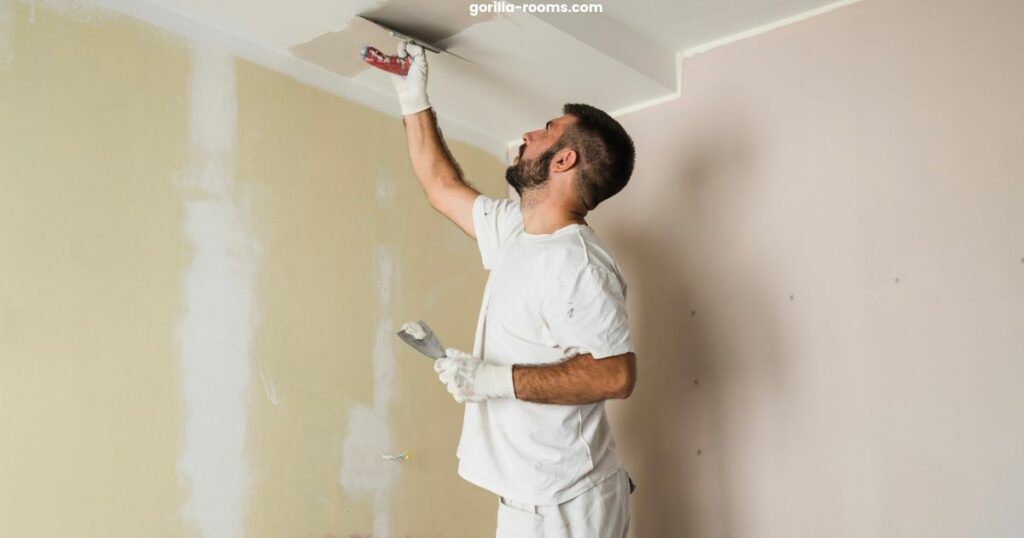
2. Remove The Bubbling Paint
Remove any peeling or bubbling paint from the ceiling with a putty knife. If you scrape the ceiling too aggressively, you may harm its surface.
When scraping a ceiling above your head, it might be more comfortable and safer to use safety goggles and a dust mask since the process can be dirty.
3. Sand The Spot
After removing the loose paint, sand the surface to eliminate rough patches or edges. Employ fine-grit sandpaper and sand softly to prevent ceiling damage.
4. Put Ceiling Primer
After sanding the area, apply a layer of primer to it. It will assist in preventing any moisture from penetrating the surface.
5. Repaint The Ceiling
Apply a new layer of paint to the ceiling when the priming has dry. I suggest you to use high-quality, water-resistant paint formulated for use in bathrooms and kitchens. Use a little paintbrush to “cut in” around the edges. Apply paint to surfaces with a roller using smooth, equal strokes.
6. Improve Ventilation
Before applying a second layer, let the first dry completely. The paint may bubble if you apply it too quickly, particularly in a humid setting like your bathroom.
To avoid a recurrence of the issue, ensure that the bathroom has enough ventilation. If required, install a ventilation fan or leave windows open during and after rains to enable moisture to escape.
7. Fix Any Underlying Problems
If a leak or another underlying issue causes the problem, be sure you solve it before repainting the ceiling to avoid the problem reoccurring.
Why is my paint bubbling or peeling?
As the paint coating or film on the ceiling separates from the surface on which it was applied, ceiling bubbles and blisters will form.
Understanding the reasons, doing a small amount of preparatory work, and using the appropriate equipment may avoid many annoying paint issues.
You Skipped The Primer
Unsealed porous substrates, such as untreated drywall or concrete, absorb more pigments and binders from the paint than primed porous substrates.
Thus, your base paint coat will have a thinner bond film than is required for the adhesion of subsequent coats. If fresh paint does not adhere to the base coat, the top coat tends to flake and bubble.
The Painting Surface Was Filthy
Why is cleaning the walls often the first step in painting a room? Over time, dust, filth, and grime accumulate on interior walls and ceilings, making it difficult for the new paint to adhere.
When the fresh paint dries and shrinks, it will pull up from unclean portions of the surface, forming unappealing bubbles around flecks of dirt.
The Painting Surface Or The Area Was Moist
Excessive moisture on painted walls, whether from excessive humidity, leaks, or plumbing issues, can generate water-filled bubbles in the paint anywhere between the substrate and the top layers.
Preventions for bubbling or peeling paint
You can prevent paint from bubbling on the bathroom ceiling by following these steps:
- Correctly apply putty, NC putty, or primer
- Create feather edges properly
- Be careful to use the appropriate thinner and follow the proper spraying procedure. Moreover, the primer must be sprayed thinly and wetly.
- Refrain from spraying the paint too thickly at once, and ensure that the paint permeates the cracks and dead corners.
- Examine the substrate for porosity, particularly bubbles in the FRP surface adhesive layer. It is important to eliminate air bubbles and seal the substrate with care.
- When baking the paint coating, avoid very high temperatures.
Conclusion
Don’t worry if your bathroom has bubbles on the ceiling or walls. That is an issue that can be resolved. I have tried to cover everything you must know about bubbling paint. First, see how bad the bubbling is and decide if you need to paint the whole surface again.
A lot of bubbles can be a sign of a bigger problem, like a leak, that needs to be fixed to stop the problem from happening again. Most of the time, you can fix the problem by fixing only a small part of the ceiling.
If there is moisture on the surface of the drywall, the paint bubbles will immediately return. You may apply a new coat of paint to the damaged area after the primer has been set. Even if paint bubbles on the second coat, the problem is still fixable. Just repeat the procedure.
FAQS
How do I know if the bubbling is caused by water damage?
When water gets into your walls, it might make the paint bubble. Bubbles or warped paint are also signs that there is water in your home. When you see these bubbles forming, you should immediately call a maintenance expert.
Can I just paint over the bubbles?
If there are bubbles on a painted surface, you shouldn’t just paint over them without fixing the problem.
If you just paint over the bubbles instead of fixing the problem, the bubbles will likely come back, ruining your new paint job.
Should I use a special type of paint for a bathroom ceiling?
Yes, because there is a lot of moisture and humidity in bathrooms, it is best to use special paint on the ceiling. Normal paint might not be able to handle the moisture, which can cause mold and mildew to grow, which can be bad for your health and cause damage to your ceiling over time.
How do I remove the bubbles without damaging the ceiling?
Prep the surface. Clean your putty knife and use it to spread a thin layer of patching compound over any holes or depressions in the substrate. Let the compound dry for a full day, and then use fine-grit sandpaper to smooth the patched areas.