
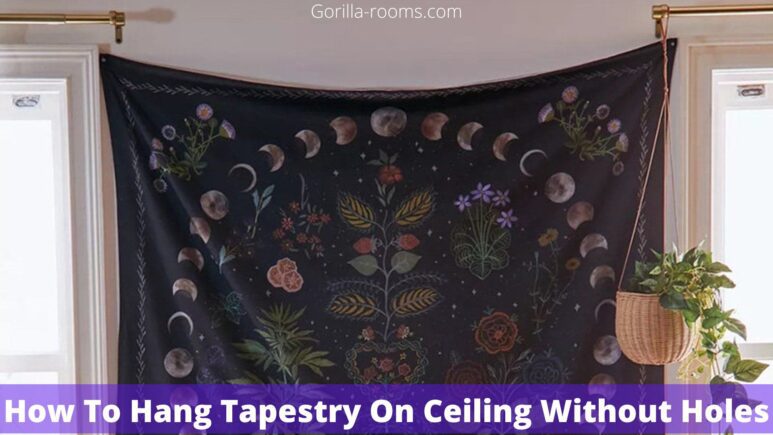
Are you looking for a way to hang a tapestry on the ceiling to give your room a new appealing appearance without having to make any holes in the ceiling?
Whether or not you can hang your tapestry depends on the ceiling system you have. You’ll learn how to hang tapestries on them in this article!
Ceiling tapestry is one of the most effective ways to transform the upper portion of your room by adding a new spatial dimension and new colors and textures.
Although it is not difficult, there are some steps to follow to keep your ceiling tapestry looking beautiful.
How Should You Hang A Tapestry On A Ceiling Without Holes?
It’s simple to hang tapestries on ceilings without making holes! It can be done in a variety of ways.
Here are four best ways to hang a tapestry or rug without causing damage to your ceiling, walls, flooring, or even your interiors:
Method 1: Using Velcro
A ceiling tapestry can give your room a fanciful vibe as if you were in a dream world.
This isn’t difficult, but there are a few things to keep in mind if your tapestry wakes you up in the middle of the night by falling upon you!
Without using nails or screws, this is probably the easiest way to hang a tapestry.
For a bulkier ceiling tapestry, attach the rougher Velcro strip side to a strip of wood on the ceiling and the opposite velcro piece to the top of your tapestry’s back surface.
You can also use Velcro square or Velcro coin pairs, which have glue on both sides and are ready to use and apply.
The steps for hanging a tapestry on our ceiling using velcro are outlined below.
1- Choose Tapestry
Cotton, wool, or silk are commonly used to make tapestries. They are colorful and pattern-filled wall hangings woven with yarns. You can reliably choose your favorite color, scale, and pattern.
One of the best options is a piece of soft and smooth fabric. Velcro also works well with light tapestries and polyester-style fabrics (less than a pound).
Choosing one based on this criterion is preferable while also satisfying your personal preferences in terms of stuff and style.
Related Posts: How To Remove Plastic Ceiling Light Covers?
2- Preparation
After you’ve chosen your tapestry, get the rest of your supplies and equipment ready, including:
- Ruler or measuring tape
- Pencil
- Magnet/Velcro
- Ladder
- Scissors
- Glue gun
3- Measurement
Using a measuring tape, determine the size of your tapestry.
Then, based on the size of your tapestry, determine the amount of space required on the ceiling.
Also, measure the ceiling height in the room where the tapestry will be installed.
Assess from both ends of your desired hanging point with a level tool. Then, using masking tape or a pencil, mark where they cross.
Make sure you don’t make any mistakes here, as this could result in a damaged installation!
Trace the center point with a piece of masking tape so you can align your tapestry with it.
4- Draw The Patterns
You must draw the identical patterns on the ceiling and the rear of the tapestry to hang it properly.
If you’re using a Velcro strip, make sure your ceiling has the same lines of Velcro tape (from the inside of your wall tapestry).
You can use Velcro to make a strip or a patch. Each will provide instructions for hanging a tapestry on the ceiling. You can use the drawing layouts to draw lines on the ceiling and the tape.
The more strips you need, the larger or wider the tapestry is.
5- Stick The Tapestry
Adhere your tapestry to your ceiling, having followed the mark you made. (You may need to glue the rear of the Velcro if your tapestry is big and heavy)
Place the base face of the tapestry on the ceiling and double it.
You can use a hot glue gun on the back of the Velcro tapes for a heavier tapestry.
If You don’t want your ceiling tapestry to come crashing down on you at night?
For that, fix your tapestry on the ceiling from one side to the other.
6- Mount the Ladder
To reach the ceiling, use the ladder and bring the tapestry and a hot glue gun.
This step gets you closer to completing the process of hanging a tapestry on the ceiling.
7- Apply the Tapestry
You can easily stick your tapestry on your ceiling, beginning on one side and gradually moving forward to the opposite end.
Alternatively, you can use hot glue to secure the tapestry and keep it flat against the ceiling.
Method 2: Using Wall/Ceiling Magnets!

Wall magnets can be used on any surface. Sticking a tapestry on the ceiling is a fantastic design idea because it can liven up an otherwise dull and lifeless open space.
It can be the ideal decorative piece and conversation opener, depending on your color. It’s good to locate the ideal magnet for mounting tapestry on the ceiling is simple!
Furthermore, because magnets are detachable and easily adjustable, there is no need to be accurate or risk damaging the ceiling substance. You can always fix yourself if you make a mistake as you go along.
Make the appropriate arrangements before hanging the tapestry on the ceiling to be hung correctly and appears to look pleasing to the eye.
Here’s a quick step-by-step guide on sticking a tapestry on the ceiling to help you out. Magnetic discs are recommended for this because they are a better choice.
Step by Step Guide To Hang Tapestry On The Ceiling With Magnets:
- Select the tapestry and magnetic disc you want to work with.
- Measure and mark the length of the tapestry against the ceiling. This will be beneficial.
- tell you where the magnets should go on the wall
- Prepare the tapestry and double-check that it is properly hung.
- Select the magnetic disc you’ll be using. Place the steel disc or countersunk magnets on the ceiling.
- Placing the tapestry on top of the magnet is a good idea.
- Line up another disc on top of the tapestry with the countersunk magnet or steel disc underneath it.
- As needed, make adjustments.
It’s also worth noting that you should pick magnets whose pull strength corresponds to the tapestry’s weight. Choose a strong magnet to prevent your tapestry from being affected.
Various sorts of wall magnets serve a variety of purposes and are available in various designs. Some examples are provided below.
Types Of Wall Magnets:
- Magnetic hook
- Magnetic disk
- Coat hook with a magnet
Magnetic hooks have a plain magnetic back and come in various sizes and shapes.
This type of magnet is ideal for hanging certain items (such as tapestries and fabrics) from the ceiling.
Magnetic hooks are available at any hardware or home improvement store. You can also order it from various websites and deliver it to your home.
The installation of magnetic hooks on your ceiling is simple and takes only a few minutes.
You don’t need to worry about being accurate with the hook position because it’s so simple to adjust as you go.
Magnetic discs are an excellent choice for those who want to discreetly hang certain items.
These discs are available in a variety of sizes and pull strengths. You can hang anything from delicate tapestries to more durable canvas substances based on your needs.
Of course, you can hang other items on the walls for various purposes. It’s a good idea to keep a magnetic coat hook near the front door of your home or office.
Like the magnetic hook, the coat hook has a larger and more durable hook that should be able to hold on to the thickest winter coat you can find!
Method 3: Use Gripper Hooks

The most common technique for hanging a tapestry on a ceiling is using Gripper hooks.
These hooks aren’t designed to hold heavy items, but they’re perfect for hanging lightweight items like tapestries and throws.
They have padded jaws that enable you to safely connect them to the wall without harming the room’s walls or interiors.
Merely screw two gripper hooks around each side of an open area above where you want to showcase your new piece about 1 foot apart from the center if using individual hangers to use this technique of hanging up your wall art.
Method 4: Expanding Winged Nails
These nails appear difficult at first glance, but they are quite simple.
Expanding winged nails, also known as “molly bolts,” are a form of drywall anchor used to connect heavy items to walls, such as brick and steel beams.
They can also be used on ceilings! When you screw them into a Phillips-head screwdriver or an Allen key, they expand behind the wall, much like a usual nail would if it were buried in the wood.
There’s no need to drill holes or measure before installing your tapestry with expanding molly hooks if you use these anchors.
Aside from their simple installation, they also do not require any additional tools to move them once they’ve been installed.
Remove the screw, then use pliers or your fingers to pull out the nail – no harm!
Advantages Of Using Wall Magnets And Velcro Over Screws And Nails
You can save a plethora of time and energy by using wall magnets and velcro instead of screws and nails.
The items can be easily pushed and removed, depending on your preferences. There’s no need to be concerned about making holes in the walls and possibly causing damage to the surface!
Wall magnets and velcro are a wise choice, especially if you don’t want to drill holes in your new space’s walls.
It’s crucial to choose the right magnet or velcro for your needs, so seek advice from professionals before making a purchase.
If you use magnets, the size, weight, and height of the items you want to hang from the ceiling may be limited.
Tips For Users
- If you wish to hang a large tapestry, make sure it doesn’t take up more than 20% of the total ceiling area, or it will appear small in relation to the size of the room.
- Consider getting a precise photo as a comparison before measuring for hanging purposes.
Quantify from the top (harps) to the bottom (floor level), and don’t forget to account for any extra space at corners or slants, which should be allocated according to the width and length of your pattern/tapestries.
How Do You Make A Tapestry Look Good?
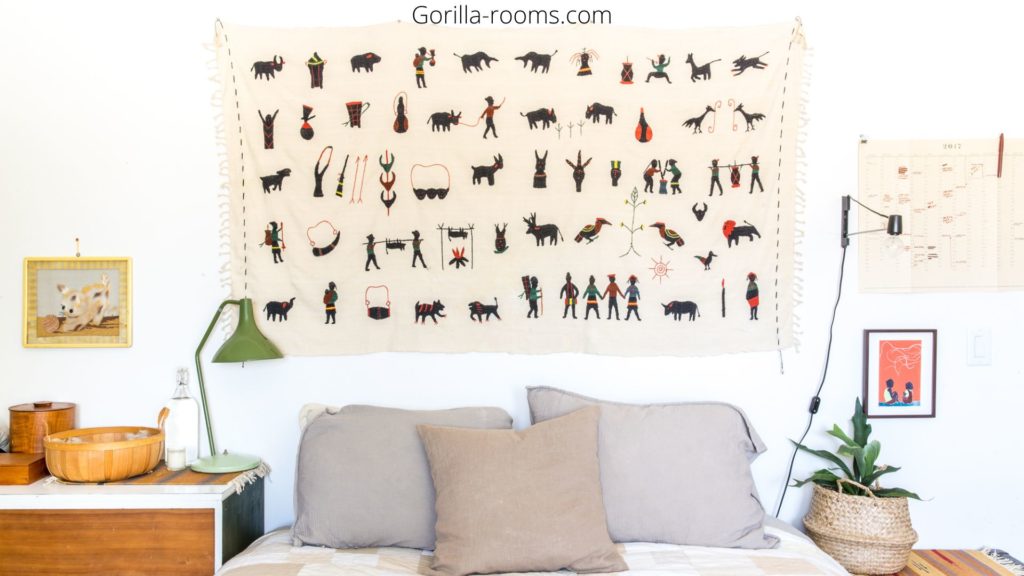
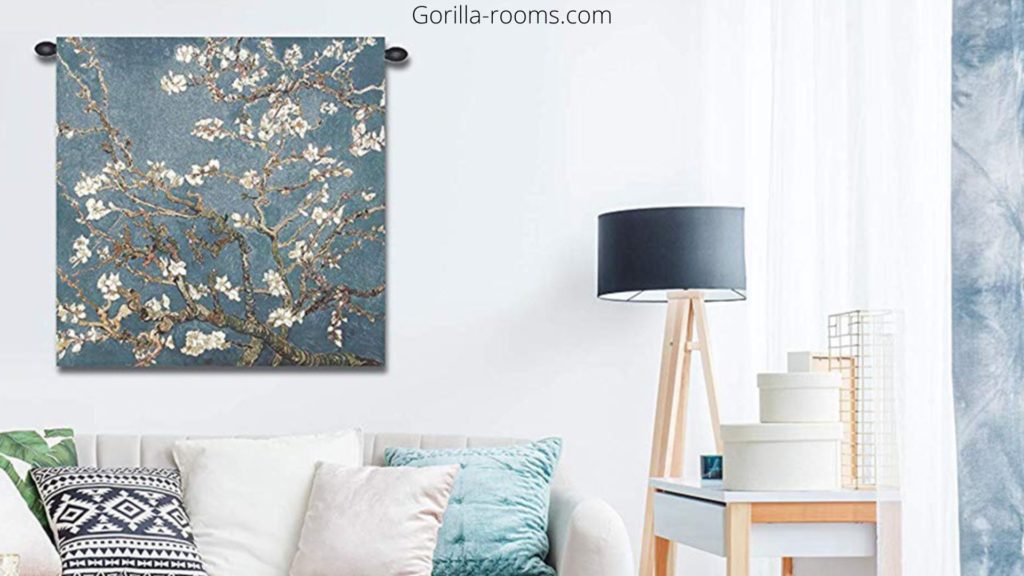
Many people enjoy hanging tapestries on their walls, but did you know that you can hang them from the ceiling?
A tapestry hung from the ceiling is a unique decoration that looks amazing in certain scenarios.
A tapestry can be hung from the ceiling with a few nails and some string. The tapestry will look fantastic hanging from the ceiling in a room with high ceilings.
You can also hang it above your bed so that every morning when you wake up, you are reminded that anything is possible by looking at the beautiful colors of the tapestry above your head.
This serves as a decoration piece, but it also serves as an inspiration to start a new day!
A tapestry hung from the ceiling is a great decoration idea that will get people talking about how innovative you are.
What is the cost of framing a tapestry? The price of framing a tapestry is highly dependent on its size and complexity.
A small, simple design will be less expensive than a larger, more detailed design. The cost will also differ depending on whether you choose a simple wooden frame with no matting and no glass, which is the most cost-effective option.
In general, a framed tapestry measuring 40′′ by 60′′ should cost between $125 and $300.
If you want one bigger or has extra features like custom-made frames or UV-protected glazing, the price will go up.
Is It Safe To Use a Staple Gun On My Ceiling?
No, it’s not secure. The staple may go through your drywall or, even worse, create a large hole in both walls, necessitating the purchase of new ones.
Furthermore, if two pieces are close enough together, they may rip each other apart. As a result, we only suggest using screws.
They’ll support a lot more weight and won’t damage your wall.
So go to the hardware store, buy some strong wood screws with flat heads (or any head), and drive them into the joists beneath your floor/ceiling.
Then slide wooden dowels into them; that’s all there is!
FAQs
Is there anything negative about using wall magnets?
Even if you are not planning to design on a metal surface, there is practically no disadvantage to using wall magnets since many options are available. You’ll be able to find a magnet to fit any of your decorating requirements.
Can multiple command strips hold more weight?
Yes, multiple Command Strips can support a greater amount of weight. When used together, they can support twice as much weight.
Can I use other materials to hang fabric on the wall?
Many other materials can hang fabric on a wall, yes. On the other hand, Magnets are strongly recommended because they are simple to use and require far less time and energy, and tension to mount a fabric.
Is it possible to hang a tapestry using Command Strips?
No, you won’t be able to mount it with just a few Command Strips. Tapestries are typically heavy, and the adhesive strength of these strips is insufficient to hold a tapestry from the ceiling or wall in place.
Can you put a tapestry in the bathroom?
Yes! The tapestry is not too large or too heavy to crowd the space. You can hang it from the ceiling or hang it on the wall. It is not necessary to drill holes, nail, or see anything into your bathroom walls.
Conclusion
We have discussed the best ways by following which you can easily hang a tapestry on the ceiling without drilling holes or damaging the ceiling.
You can use velcro, wall/Ceiling magnets, Gripper Hooks, and Expanding Winged Nails to hang a tapestry on the ceiling without making holes.
You can also use Velcro square or Velcro coin pairs, which have glue on both sides and are ready to use and apply.
Also, It’s a good thing to locate the ideal magnet for mounting tapestry on the ceiling. Similarly, using the methods mentioned above, you can use gripper hooks and winged nails for hanging tapestry on the ceiling.